Thursday, April 13, 2017
Ubuntu 14 alongside windows 8
Ubuntu 14 alongside windows 8
Introduction
By far the most read article on this site shows how to install Ubuntu alongside Windows 8 in 10 easy steps.
Those instructions have helped people install Ubuntu since 12.04 but now with the introduction of Ubuntu 14.04 and many Windows users upgrading to Windows 8.1 there are a few new challenges that have been brought to the table.
Over the weekend I have played around with dual booting Ubuntu 14.04 and Windows 8.1 and the following article highlights the steps that I took to get it to work.
A review of Ubuntu 14.04
Before you start it might be worth reading the latest review of Ubuntu 14.04 to make sure dual booting with Windows 8.1 is something you want to do.1. Back up Windows
There are two steps to backing up Windows:
- Create a recovery drive for backing up Windows 8.1
- Create a file history for backing up personal files
For the recovery drive you will need a USB flash drive with at least 16gb of space. Insert the USB drive into your computer. You should make sure that you have no data that you need to keep on the drive as it will be wiped during this process. If you dont have a USB drive you can create recovery DVDs.
For the file history backup I would recommend using an external hard drive but it depends on how much data you have. If you dont have much then a USB drive will do. If you have nothing else to hand you can backup to DVDs.
This guide assumes that you are using Windows 8.1 but most of the steps will be similar to Windows 8.

In my original guide I showed how to create recovery disks and a system image using the Windows 7 recovery tools.
In this guide I use the simpler Windows 8 recovery drive tool.
To create a recovery drive press the super key (Windows key) on your keyboard and then click on the magnifying glass in the top right corner.
Now start typing "Recovery".

An option will appear called "Create a recovery drive". Click this option. You will be asked if you are happy to give permissions for this application to run. The answer is yes you do.
A recovery drive lets you get Windows 8.1 back to a working state.
When the "Create a recovery drive" window appears click "Next" to continue.
Click the available USB drive to be used and click "Next".

A message will appear confirming that you want to create the drive and you are warned again that all the data on the target drive will be deleted.
If you are happy that you dont need anything on your recovery drive click "Create".

It will take a few minutes for the drive to be created but eventually a screen will appear stating that the drive is ready.
Safely remove the drive, put it in a small plastic bag like a sandwich bag or in an envelope. Label the bag or envelope and place it somewhere very safe.
If something goes wrong either whilst installing Ubuntu or later on in time you will be grateful that you followed these steps.

Now insert the drive that you want to use for storing all your personal data.
To be honest you should do this whether you plan to continue installing Ubuntu or not.
Press the "super" key (Windows key) on your keyboard and then press the search icon in the top right corner.
Enter the words "File History". Click the option that says "Save backup copies of your files with File History".
A screen similar to the one above should appear. Click on the "Off" button to flick the switch to "On" for File History.
Click the link that says "Select a different drive". Find the drive that you want to back up to and click "Back up now".
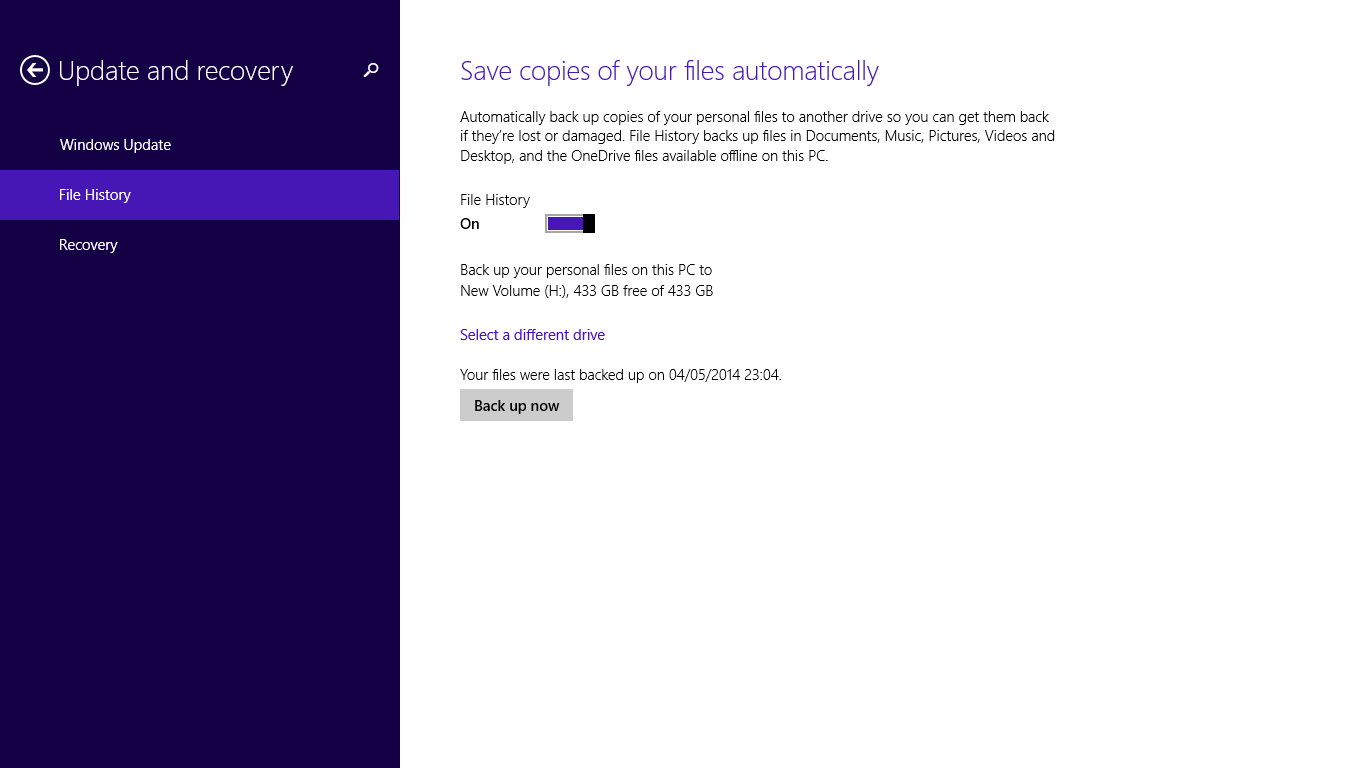
After a while all your files will be backed up to the new drive.
Note that this application assumes that you store all of your files under your Documents, Music, Pictures, Videos and Desktop folder. If you dont then I would recommend copying any file that that isnt stored in these folders manually using Windows Explorer.
2. Create a bootable Ubuntu USB drive
If you want to skip a step or if you have a poor internet connection then you can click here to buy a copy of Ubuntu 14.04 on a USB drive. Of course if you do that you will need to bookmark this page and wait until the USB drive arrives in the post.
If you choose to create your own bootable USB drive you will need another blank USB drive to continue.

Insert the USB drive into your computer.
Visit http://www.ubuntu.com/download/desktop. Make sure that you choose the 64-bit version. Click "Download" to download the file.
To create a bootable USB drive the tool that I advocate using is the Universal USB Installer from www.pendrivelinux.com.
Follow the above link for pendrive Linux and scroll half way down the page until you see the "Download UUI" link. Click on the download link and wait for the program to download.
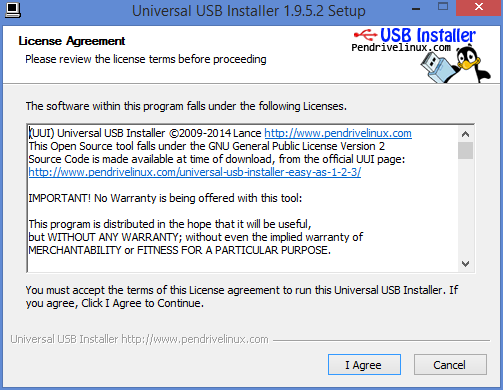
When the download has completed double click on the executable.

When the license agreement screen appears read it and then click "I Agree" if you accept the license.
Creating the drive is fairly straight forward.
The first thing to do is choose your distribution of choice, in this case Ubuntu, from the dropdown list.
Click on the "Browse" button. Find the downloaded Ubuntu ISO.

Select your chosen USB drive letter and make sure that the "We will format" option is checked.
At this point you can create the USB drive so that it persists data. This makes it possible to install software when using the live Ubuntu version and it will still be available the next time you boot from the USB drive.
Click "Create" to continue.

A summary screen will tell you what is about to happen.
Basically your USB drive is about to be completely wiped and Ubuntu is about to be installed as a live image to it.
If you are happy to continue click "Yes".
